How to Photograph Hair Extensions for Your Online Store
We see it every week in our warehouse: new vendors order premium, cuticle-intact hair that looks and feels incredible, then fumble their way trying to photograph hair extensions for their online store and end up with blurry, yellow-tinted phone photos that make it look like $10 synthetic gas station hair. Bad photos don’t just tank click-through rates, they push return rates up 20-30% on average, because customers get a product that looks nothing like the snap they ordered from. You don’t need a professional studio to get shots that sell, either—most of the best setups we’ve seen cost less than $150 total, put together in a spare bedroom or back corner of a salon.
You don’t need a pro camera to photograph hair extensions
Every new vendor we talk to assumes they need to drop $2,000 on a DSLR and studio lens to get good product shots. Nope. 90% of the highest-converting hair stores we work with shoot 100% of their product photos on a 2-3 year old iPhone or Samsung. The gear doesn’t make the shot. The light does.
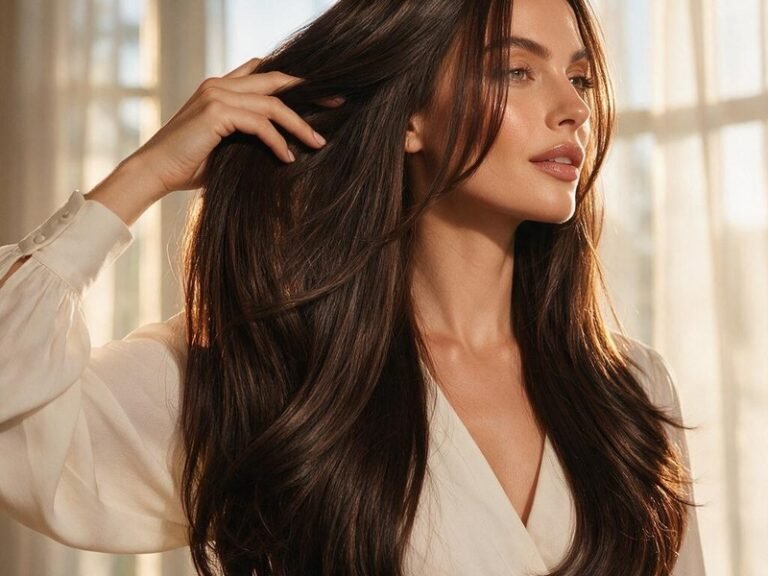
Natural north-facing window light is free, and it’s the most accurate for showing true hair color, with no weird warm orange casts or cool blue tints that make jet black look faded or platinum look dingy. Skip overhead ceiling lights entirely. They cast harsh shadows across wefts, make honey blonde look brassy, and wash out natural cuticle shine. If you don’t have consistent window light, grab a $25 ring light set to 5000K (daylight balance) and set it 2-3 feet from the hair. Any closer, and the light flattens the hair and makes it look greasy, even when it’s brand new out of the bundle. Never use your camera flash. Ever.
Stop laying every bundle flat on a white table
This is the single most common mistake new sellers make. You grab a sheet of white poster board, spread a single bundle out as wide as it will go, snap a photo from above, and wonder why customers keep asking if the hair is thin. Sound familiar? Here’s the truth: a 100g 20-inch bundle laid completely flat looks like it has half the density it actually does, because you’re stretching the weft out wider than it would ever sit on a client’s head.
Grab a $12 foam mannequin head from the local beauty supply store, clamp it to a table or shelf, and clip the hair in so it hangs naturally, the same way it would fall on someone’s head. You don’t need a fancy mannequin with realistic makeup or facial features. We’ve seen sellers cover a plain foam head in a black velvet sock to cut glare, and their photos look cleaner than shots from brands that spend hundreds on premium display heads.
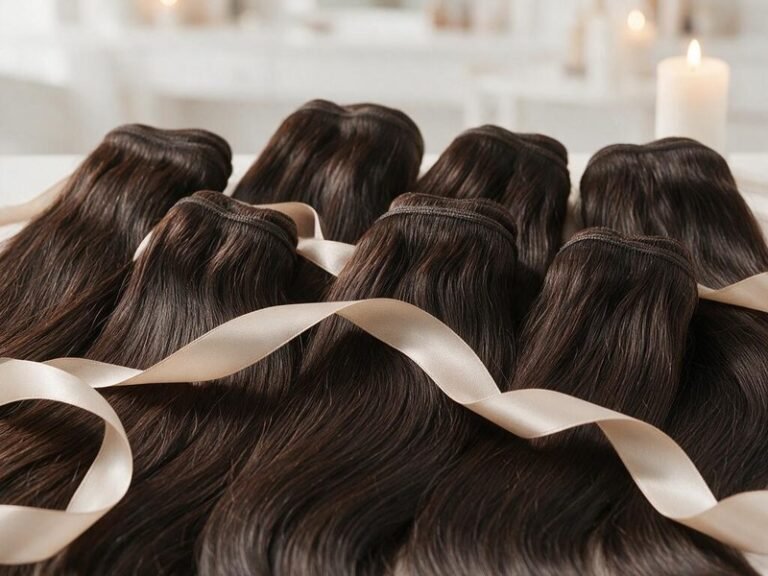
For weft hair extensions, clip 2-3 bundles to the head at a time to show the full, thick end result clients get after install, not just a single sparse bundle pulled straight out of its plastic packaging. Loose bulk hair for braiding doesn’t have a stitched weft to anchor it, so loop a 1-inch section over a clear plastic Command hook stuck to a white wall instead of piling it in a heap. That lets customers see the full length, consistent strand thickness from root to tip, and how the hair moves without tangles.
Get the color right, or deal with returns later
We get at least 10 emails a month from vendors upset that customers are claiming they received the wrong color, when 9 times out of 10, the issue is a heavily filtered, poorly color-balanced photo. Warm auburn looks like bright cherry red when saturation is cranked too high. Cool ash blonde looks platinum when white balance is off. Those mismatches lead to returns, bad reviews, and customers who never come back.
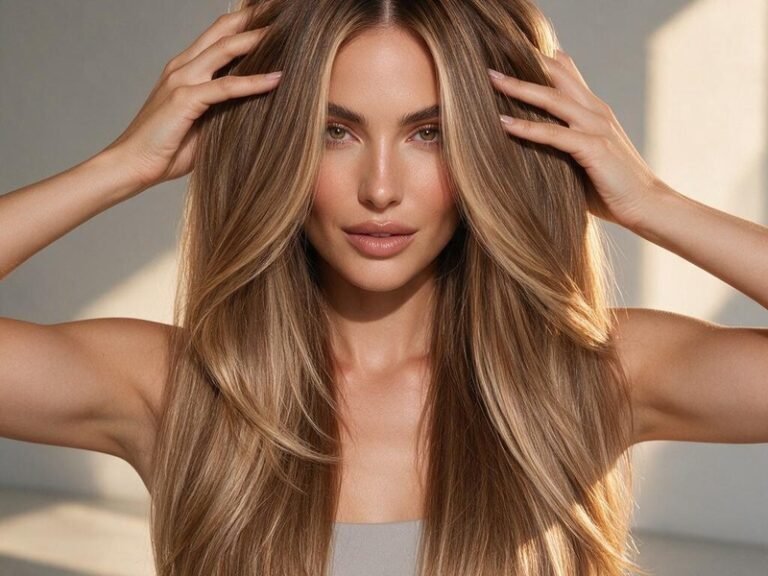
You don’t need fancy color calibration tools to get this right. Do two quick checks before you post any photo: first, hold a plain white piece of printer paper next to the hair in the exact same light, and adjust your phone’s white balance until the paper looks pure white, not blue or yellow. Second, don’t slide the saturation slider more than 5% up or down. It’s tempting to crank it to make the hair look shinier, but it distorts every tone, especially on highlighted and light blonde shades.
For tape-in hair, always snap one close-up shot of the tab next to a ruler so customers can see how thin and flexible the bond is, but make sure the hair attached to the tab is shot in the same unfiltered light as your bundle shots, so color matches across every photo on the product page. If a shade looks slightly different in bright outdoor sun vs soft indoor light, show both. Honestly, it feels like overkill, but it cuts color-related returns by almost 25% for the vendors we work with that do it. No gimmicks, just honesty.
Show the hair like a customer would actually use it
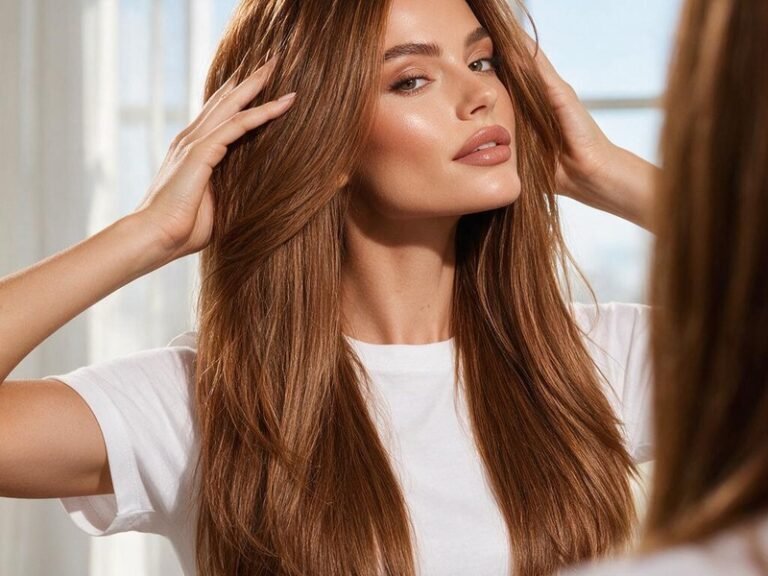
No one wears a perfectly straight, untouched bundle straight out of the package. You don’t have to do a full sew-in for every product shot, but run a flat iron through one section, curl a 1-inch section, and run your fingers through it to show natural shine and movement. A 5-second slow-mo clip of this works great as a short product video, no extra work required, and it shows customers there’s no matting, no random short pieces, no weird plastic synthetic feel.
Don’t over-style it, though. If you douse the hair in hairspray, layer on serums, and tease roots to make it look extra full, customers will think that’s how the hair arrives. They’ll be disappointed when they get a clean, product-free bundle that needs a quick wash and light style before install. Show small, real details: a close-up of reinforced weft stitching to prove it won’t shed, a shot of aligned cuticles to show it won’t tangle, a shot of blunt-cut ends so people know there’s no thin, ratty tips. You don’t have to edit out every tiny flyaway near the weft, either. All real human hair has a few loose strands near the stitching. Customers trust real-looking photos way more than airbrushed shots that look like plastic.
Skip the over-the-top props
We’ve seen vendors set up marble backdrops, scatter fake flower petals, lay out gold confetti, and prop fancy coffee mugs in every shot. It looks pretty for Instagram, but it distracts from the actual product your customer is there to buy: the hair.
A plain, neutral backdrop works best. A flat white wall, light gray sheet, even a clean beige tile wall if that’s what you have. If you want a branded touch, a small logo sticker in the corner works, or a single piece of branded packaging set off to the side, not covering the hair. If you’re still putting together branded assets, our guide to how to customize hair extensions for your brand has low-cost ideas for packaging that looks great in photos without breaking the bank.
One prop max per shot, if you use any at all. If you sell mostly to braiders, a single spool of braiding thread next to bulk hair signals who the product is for. Piling on tools, products, and decor clutters the frame, and people’s eyes will go to the props instead of the hair. Skip glittery, sequined backdrops too. They reflect light, cast weird colored spots on the hair, and make your store look unprofessional. Save those for Reel thumbnails, not permanent product page photos.
Quick questions we get all the time
Should I use models for my hair extension photos?
It depends on your budget. Model shots are great for showing what installed hair looks like, but they never replace clear, unfiltered product shots on a mannequin or hook. A lot of customers assume model photos are heavily edited, or shot with better hair than the actual stock they’ll receive, so always lead with the plain product shot first, then add model shots as social proof lower on the page. If you can’t afford a pro model, ask a regular client or friend to let you take 2-3 quick post-install photos in exchange for a free touch-up or discount on their next set. You don’t need a perfect model, just someone who matches your core customer base.
How many photos do I need per product?
4-6 good shots are way better than 20 blurry, repetitive ones. You don’t need a shot from every angle, just these core views:
- One full-length shot showing total length, with the hair hanging straight
- One close-up of the weft or bond, to show build quality
- One shot of natural texture from root to tip, after a quick pass with a heat tool
- One shot of the ends, to prove they’re thick and not ratty
- One shot in soft natural outdoor light, to show the truest color
That’s five shots, enough to answer 90% of customer questions before they hit your contact form.
Can I edit out flyaways or small imperfections?
Small touch-ups are fine, but don’t edit the hair to look thicker, shinier, or a different color than it is. If you have to edit that much, you’re better off adjusting your lighting so the shot looks right straight out of the camera. Edits that change the actual product are what lead to returns, bad reviews, and customers who don’t come back.
You don’t have to nail every photo on your first try. We’ve seen vendors take 20-30 shots per product in their first week, then narrow it down to a system that takes 5 minutes per SKU once they get their lighting and setup dialed in. If you have questions about how a specific texture or product type shows up on camera, or need clarification on our standard color shades to match your photos, you can always reach out to our team directly.
At the end of the day, the best hair extension photos don’t look like glossy magazine ads. They look honest. They show the customer exactly what they’re going to get when they open their package, and that’s the kind of content that turns one-time buyers into repeat clients who order every month.
Send Us Your Hair Inquiry
Need bulk pricing, samples, or a private-label quote? Fill in the form and our team will get back to you within one business day.