How Do K-Tip Hair Extensions Work?
If you’ve ever stood in our warehouse watching us pack k-tip hair extension orders for salon owners across the US, you’ve seen how consistently these extensions fly off the shelves—especially for stylists who serve clients wanting long-term, low-fuss length and volume. K-tips aren’t the fastest extension method to install, but they’re one of the most reliable options out there when applied correctly, and we get questions every single week from new buyers asking exactly how they stay in, how long they last, and where people usually mess up. We’ve pulled together everything we’ve learned over 10+ years supplying these to break it down, no sales fluff, just what we see work (and fail) in real salons.
What actually is a k-tip, anyway?
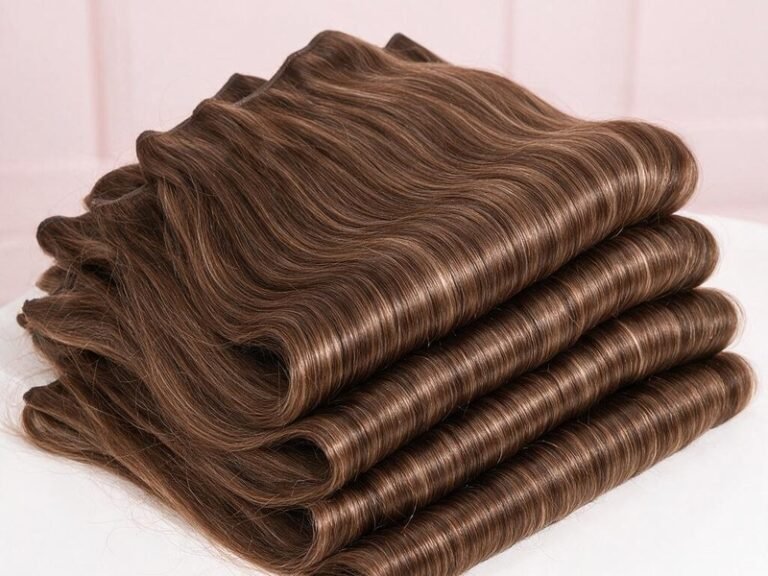
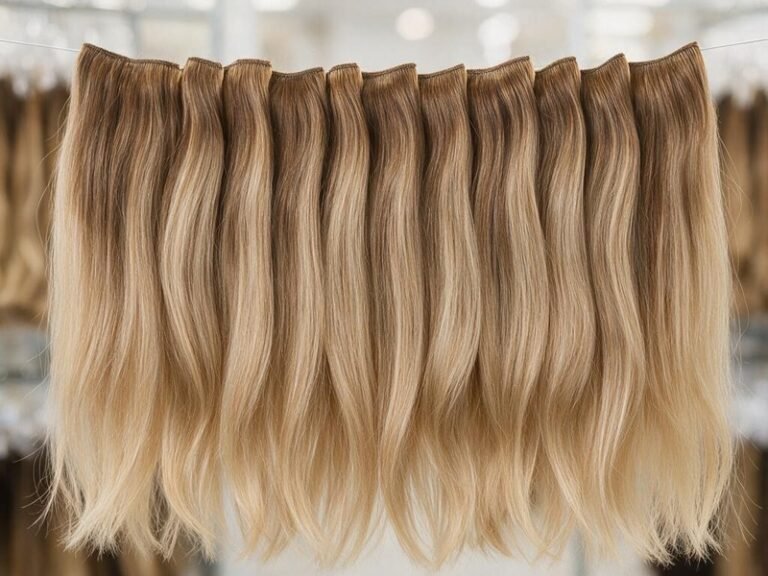
Let’s start with the basics. Every k-tip strand comes with a small, solid keratin resin tip pre-attached to the top of a 0.8 to 1 gram bundle of 100% human hair (if you’re buying good quality, that is). We sell most of our k-tip hair in 100 gram bundles, roughly 100 individual bonds per pack—enough for a partial volume install for most clients, or 2-3 packs for a full head of added length. Unlike tape-ins that rely on adhesive or wefts that are sewn in, that keratin tip is the entire anchor point. Good quality keratin is soft and slightly flexible when cured, so it moves with natural hair instead of clinking against the scalp or catching on combs. Cheap knockoffs use a hard plastic composite that looks like keratin at first, but turns brittle after 2-3 washes, snaps off mid-wear, and yanks out chunks of hair during removal. If you’re vetting new stock, run through the quick checks in our guide to human hair quality before placing bulk orders to avoid that headache.
The install process, step by step (no stylist jargon)
A k-tip install doesn’t require fancy beads, extra adhesive, or sewing supplies. All you need is the extensions themselves, a low-heat fusion connector, a sectioning comb, and clips to hold hair out of the way. First, the stylist parts the client’s hair into super thin, clean sections—usually 1/8 inch wide, about the thickness of a toothpick, roughly half an inch away from the scalp. Set the bond too close, and it will tug as natural hair grows, causing tension headaches and breakage. Next, the stylist fits the k-tip against that section of natural hair, sets the fusion connector to 320 to 350 degrees Fahrenheit to melt the keratin tip just enough to wrap it around the natural hair, then rolls it between their fingers to form a smooth, small, rounded bond. No glue squeezed out of a bottle, no tape strips to peel and re-stick. A full head install takes 3 to 6 hours, depending on desired bond count and natural hair thickness, which is why k-tip services usually carry a higher price tag than faster methods. We see new stylists make two frequent mistakes: melting keratin too hot, which singes natural hair and leaves the bond rock-hard, or using too little heat, so the bond never sets and slides out after the first shampoo.
How long do k-tip hair extensions actually stay in?
This is where we see a ton of misinformation floating around social media. When installed correctly, with good quality keratin and proper client aftercare, k-tips last 3 to 5 months before they need to be removed and reinstalled. As natural hair grows, the bond slowly moves down the hair shaft. After 4 months or so, most people have about 2 inches of new growth, so bonds start to feel heavy, tangle easier, and can peek through if the client wears a tight ponytail. Here’s the honest tradeoff: K-tips aren’t reusable the way tape-ins or some bead methods are. Once you melt that keratin bond to remove it, you can’t reheat it and stick it back on, so you’ll need fresh bonds for every move-up appointment. If you have clients who want to reuse extensions across multiple appointments to cut costs, walk them through the differences in our tape-in vs k-tip guide to set expectations early—k-tips are a single-use bond, no way around it.
The stuff no one tells you about daily wear
Once bonds are fully cured (48 hours post-install, no washing, no tight ponytails, no heavy sweating in that window), clients can treat k-tips almost exactly like their own hair. They can wash, blow dry, curl, straighten, swim, hit the gym, and wear high ponytails without special clips or coverings. But there are non-negotiable rules to pass along, or bonds will fail early. Clients can’t use oil-based shampoos or serums right at the root, because oil breaks down keratin over time. That means no heavy root masks, no leave-in conditioner sprayed directly on bonds, no coconut oil pre-poo treatments sitting near the scalp for hours. Ignore that, and bonds will slide out 2-3 weeks post-install, with clients coming back blaming hair quality when it was just product buildup. Bonds are small, but not invisible. If a client has super fine hair and wears tight slicked-back styles daily, people might spot the tiny bond dot near their root if they lean in close. That’s an easy fix—lay a few layers of natural hair over the top row of bonds to keep them hidden. If you’re stocking multiple methods for different client needs, browse our full selection alongside bulk hair for braiding, wefts, and tape-ins to cover every service you offer.
Common mistakes that ruin k-tip installs
We see the same handful of missteps pop up over and over, even from stylists who’ve done extensions:
- Sectioning natural hair too thick for one k-tip bond. If the natural hair section is heavier than the extension strand, the bond will slip, no matter how well you melt the keratin.
- Skipping keratin remover during take-down. Douse each bond in remover, let it sit 2-3 minutes to break keratin down fully before sliding it off—yanking pulls out clumps of natural hair.
- Packing bonds too close together. If bonds touch, they’ll mat as hair grows, creating root tangles that have to be cut out.
None of these are catastrophic, but they lead to bad reviews, lost clients, and wasted product if you’re not careful. We recommend new stylists practice on a mannequin 2-3 times before offering k-tip services to clients, just to nail heat settings and sectioning.
Quick answers to the questions we get most
Do k-tips damage natural hair?
When installed and removed correctly? No, not at all. Damage almost always comes from bonds placed too close to the root, too-tight sections, yanking bonds out without remover, or leaving bonds in for 6+ months without a move-up. It’s all in the application, not the method itself.
Can clients color k-tip hair?
If you’re using 100% virgin remy human hair, yes—you can deposit darker color on it just like natural hair. We don’t recommend bleaching k-tips lighter than they come, though, as lifting the cuticle dries hair out fast and shortens its lifespan. Always do a strand test first.
How many packs do I need for a full install?
For most clients with average hair thickness getting 18-22 inch length, 2 packs (200 grams total) works. For clients with very thick hair, or anyone getting 24+ inch length, plan for 3 packs. Don’t run out mid-install—matching texture and color mid-service is a nightmare.
If you have more specific questions about gram weights, color matching, or lead times for salon orders, find quick answers on our FAQ page, or reach out directly—we’re in the warehouse 5 days a week pulling orders for stylists and vendors across the US. If k-tips fit your service menu, we can send sample swatches first to test texture and color before you place a stock order, no hoops to jump through.
Send Us Your Hair Inquiry
Need bulk pricing, samples, or a private-label quote? Fill in the form and our team will get back to you within one business day.