How to Apply I Tip Hair Extensions: Expert Tips & Common Mistakes
To apply I-tip hair extensions, slide a small section of clean hair through a microbead, insert the stick-shaped I-tip, and clamp the bead flat. A typical full head uses 100–150 grams, takes 2–4 hours, and lasts 6–8 weeks. I-tips use cold metal or silicone-lined rings, not glue or heat, so they’re adjustable and reusable.
What should I do before an I-tip install?
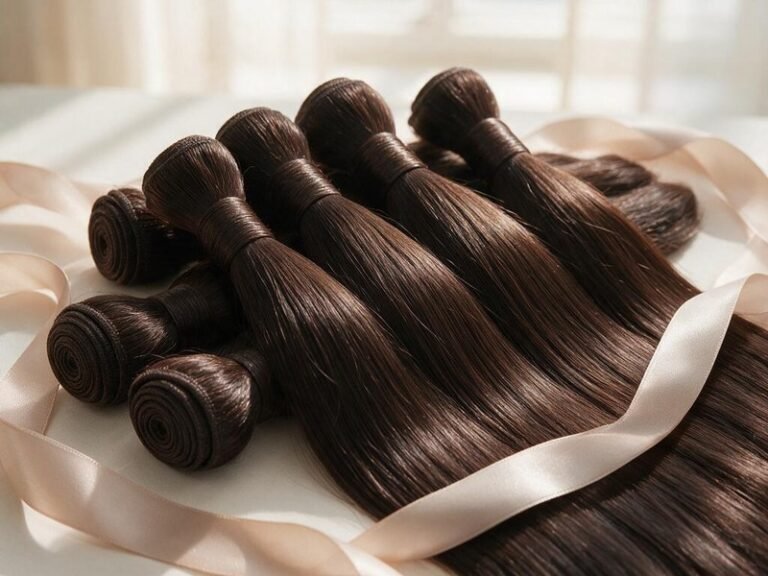
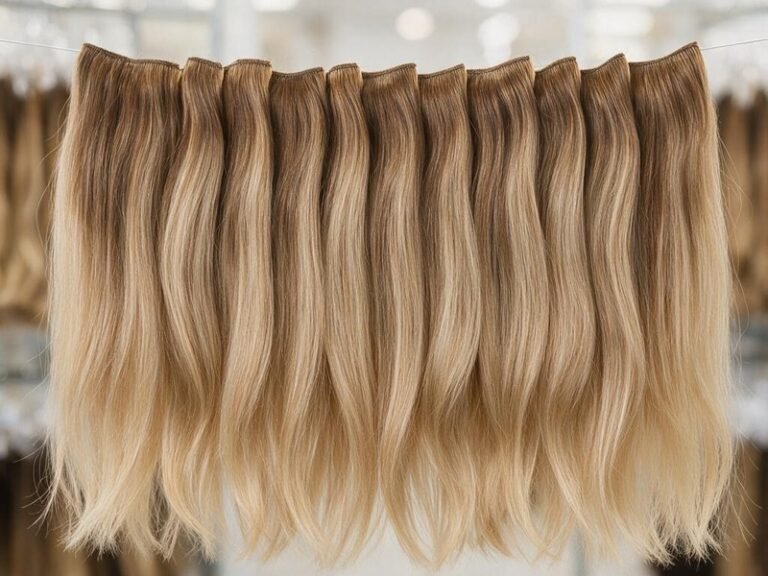
Check whether the client’s hair can support the weight; fine or damaged hair needs fewer bonds near the hairline. Match color and texture first; for salon stock, 18–22 inch straight and body wave in browns and highlights sell fastest. Use cuticle-aligned hair, meaning all cuticles run one direction, so it resists tangling through reinstalls. Shampoo roots with a clarifying product, skip conditioner there, blow-dry fully, and set out beads, loop tool, pliers, clips, and a tail comb.
How many I-tip extensions do I need for a full head?
Plan on 100–150 grams across 5–7 rows for most adults. Fine hair or volume-only needs about 80–100 grams; thick hair or lengths past 22 inches may need 150–200 grams. Use roughly 6–10 strands on side rows and 10–15 across the back, but follow density, not a fixed count. If stocking, buy sample packs before a larger MOQ, or minimum order quantity; this vendor mistakes guide shows where blind ordering hurts.
How do you apply I-tip extensions step by step?
Start one inch above the nape and leave a one-inch perimeter so beads stay hidden in updos. Load a bead on the loop tool, pull through a hair slice the same thickness as the I-tip, and stop the bead about half an inch from the scalp. Insert the tip, check for twists, then clamp once or twice until the ring is secure but not tight enough to hurt. Work upward in offset brick-lay rows, stop one inch from the hairline, and redo any bond that pivots or feels lumpy.
Why do I-tip extensions slip or feel tight?
Slip usually means oily roots, too little hair in the bead, or a bead that wasn’t fully flattened. Tightness usually means too much hair in the ring, the bead sits too close to the scalp, or rows are too high. A good bond has slight give; clients shouldn’t have a headache after day one. If rings keep slipping on very fine hair, tape-in hair, which uses flat adhesive bonds, spreads weight more broadly and may be safer.
What common mistakes damage I-tip installs?
The biggest issue we see is cheap non-Remy hair—cuticles stripped or mixed in direction—which saves a few dollars upfront but mats around the beads after a few washes. Overloading the crown causes pulling, breakage, and visible rings, so don’t chase length with too many heavy bonds. Don’t confuse I-tips with K-tips, which are heat-fused keratin bonds; this K-tip myths guide explains the difference, and clients who want that method can browse K-tip hair. Clients should avoid root oils and dry shampoo, detangle from ends upward, sleep in a braid or satin bonnet, and wait 48 hours to wash.
Frequently Asked Questions
How long do I-tip extensions last?
Most I-tip installs need adjustment after 6–8 weeks, once natural growth moves the beads down. With gentle brushing and sulfate-free washes, the hair can last 6–12 months, depending on quality.
Can I apply I-tips on fine or short hair?
Yes, but use fewer, smaller bonds and skip the finest hairs along the hairline. Hair shorter than four inches may not cover the rings, so set expectations before starting.
If you’re stocking I-tips, test sample grams and bead sizes with your stylists before committing to a full order. Check our FAQ for current lead times—stock orders often run 7–15 business days—then send your texture and length list and we’ll help you plan it.
Send Us Your Hair Inquiry
Need bulk pricing, samples, or a private-label quote? Fill in the form and our team will get back to you within one business day.